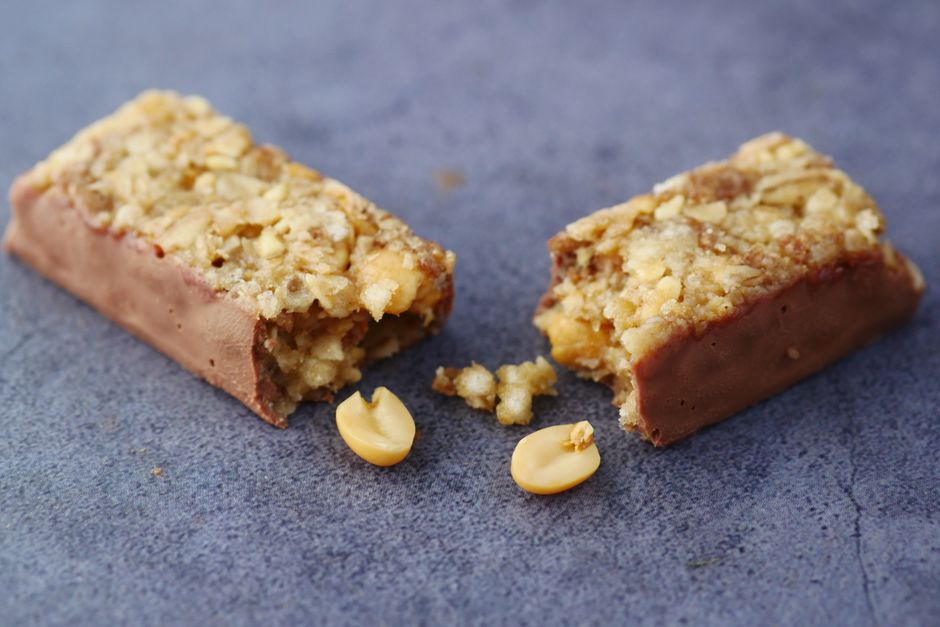
Making your own protein bars at home is a perfect solution for anyone looking to control their nutrition, avoid unnecessary additives, and customize flavors to their liking. This guide will walk you through the process of crafting delicious, nutritious protein bars that suit your dietary needs and preferences.
Why Make Your Own Protein Bars?
Store-bought protein bars can be convenient, but they often come with drawbacks like high sugar content, preservatives, and artificial ingredients. By making your own, you gain complete control over the ingredients, ensuring you’re fueling your body with wholesome, clean nutrition. Additionally, homemade protein bars can be tailored to fit specific dietary requirements, such as gluten-free, vegan, or low-carb diets.
Essential Ingredients for Homemade Protein Bars
To create your own protein bars, you’ll need a few key components: a protein source, a binder, and flavor enhancers. Here’s a closer look:
Protein Sources
- Protein Powders: Whey, casein, plant-based options like pea or hemp, are versatile and can be chosen based on dietary restrictions.
- Nuts and Seeds: Almonds, cashews, chia seeds, and flaxseeds add additional protein and healthy fats.
Binders
- Nut Butters: Almond or peanut butter provides both binding and flavor.
- Honey or Maple Syrup: These natural sweeteners help hold the bars together while adding sweetness.
Flavor Enhancers
- Dried Fruits: Raisins, cranberries, or apricots can add natural sweetness and chewy texture.
- Spices and Extracts: Vanilla extract, cinnamon, or cocoa powder can vastly enhance flavor.
Step-by-Step Guide to Making Protein Bars
Follow these steps to create your protein bars at home:
- Choose Your Recipe: Start with a basic recipe, then adjust based on your taste preferences and dietary needs.
- Mix the Dry Ingredients: Combine your chosen protein powder with oats, seeds, or nuts in a large bowl.
- Add Wet Ingredients: Mix in nut butter and a liquid sweetener. Warm the nut butter slightly for easier mixing.
- Incorporate Flavorings: Add any spices, extracts, and dried fruits. Mix well until a cohesive dough forms.
- Shape the Bars: Press the mixture into a lined baking dish or roll into individual balls for bite-sized snacks.
- Chill and Set: Refrigerate the bars for at least 2 hours to firm up before slicing or serving.
Customizing Your Protein Bars
One of the greatest benefits of making protein bars at home is the ability to customize. Here are some tips for personalizing your bars:
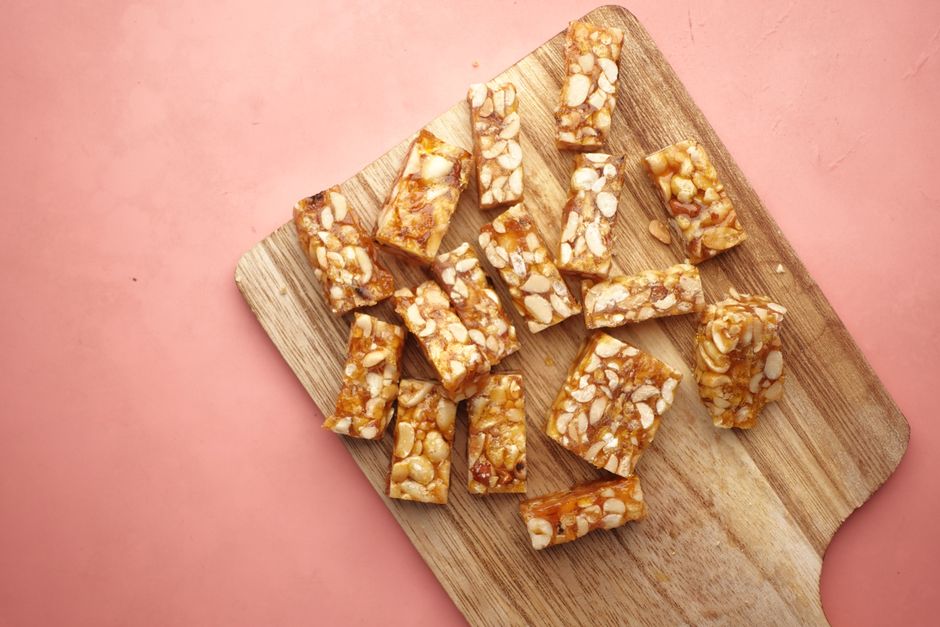
- Adjust Sweetness: Tailor the sweetness by adjusting the amount of honey or maple syrup.
- Change Texture: Play with the texture by adding crunchy elements like puffed rice or shredded coconut.
- Boost Nutrition: Add superfoods like spirulina or matcha for an additional nutritional boost.
Common Mistakes to Avoid
Here are some pitfalls to watch out for when making protein bars:
- Overloading with Ingredients: Too many ingredients can make bars heavy and difficult to bind.
- Not Using Enough Binder: Ensure the mixture isn’t too dry by adding sufficient binding ingredients.
- Ignoring Portion Size: Remember that homemade bars can be calorically dense, so portion them appropriately.
Wrapping and Storing Your Protein Bars
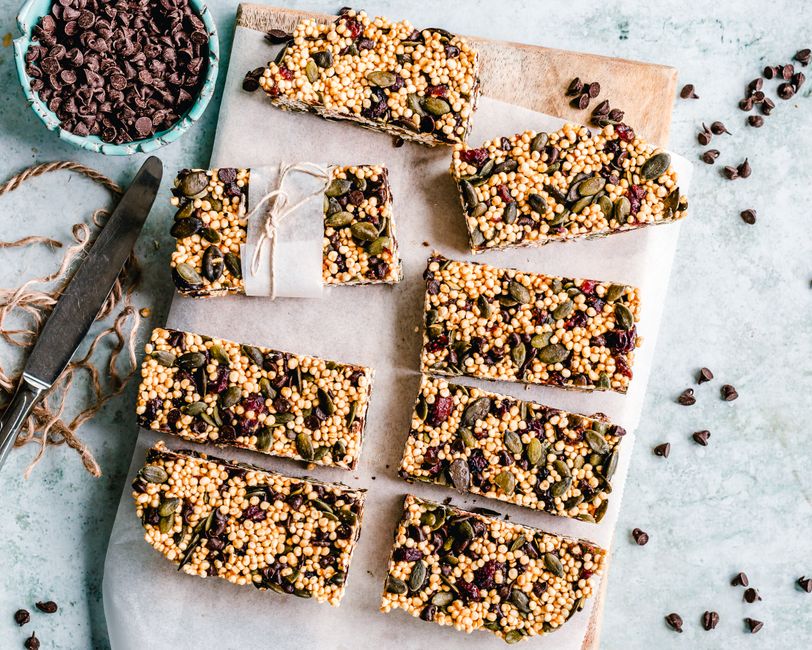
Once your bars are cut and ready, wrap them individually in parchment or wax paper. Store them in an airtight container in the fridge for up to two weeks, or freeze them for longer preservation.
Conclusion
Creating your own protein bars is a rewarding and practical way to support your health goals. With endless customization options, you can craft bars that are not only nutritious but also delicious and perfectly suited to your dietary preferences.